 FileMaker
 FileMaker でソート順フィールドを見せずにソートされた値一覧を作る方法(応用)
はじめに
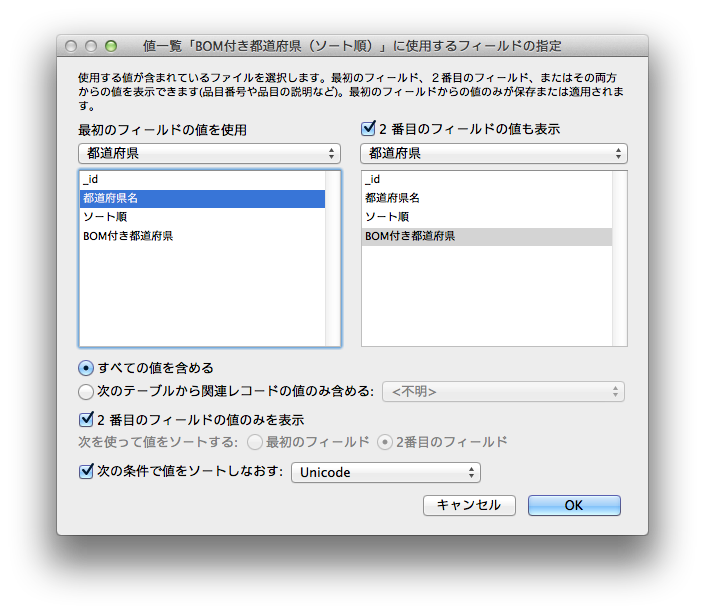
「FileMaker でソート順フィールドを見せずにソートされた値一覧を作る方法(基本)」というエントリで言及した手法には、ソートされるレコード数が100を越えないこと…という制限があります。
※ テキストフィールドの索引は最初の...
FileMaker  FileMaker
 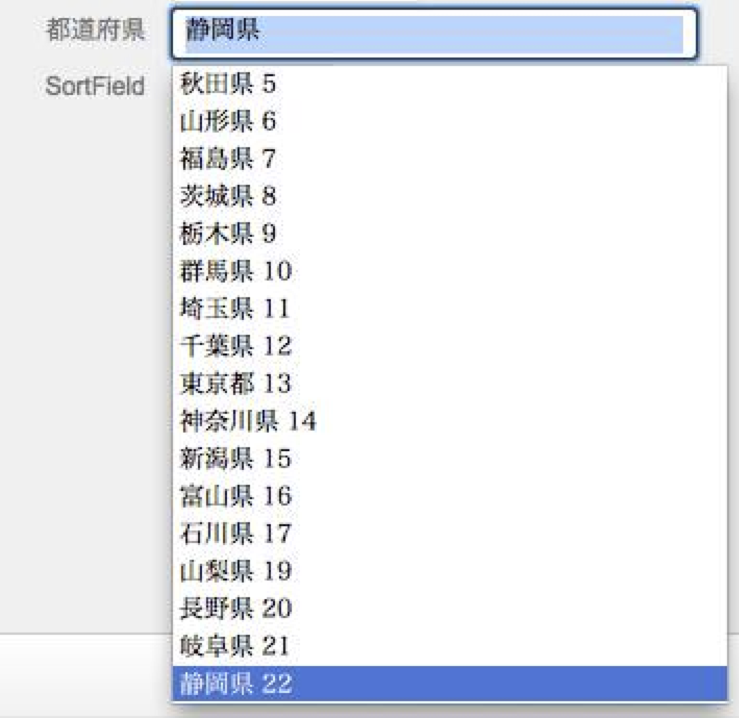 FileMaker
  FileMaker
  FileMaker FileMaker FileMaker FileMaker FileMaker FileMaker FileMaker
  FileMaker FileMaker FileMaker Business Business